40/100 Sour Seed Bread
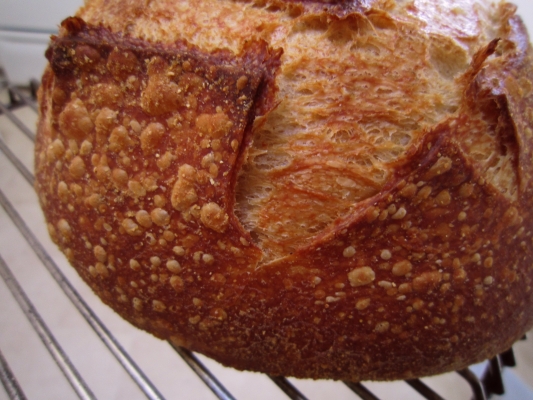
I have been experimenting with low hydration, extremely aged motherdough in the 40% and 60% hydration range. This post is about the 40% motherdough or seed dough as I often call it.
Here in Washington, we often have temps between 40 and 55 for months in the winter and springtime. I made up some 40% motherdough a month ago and had it in the trunk of my car because I no longer have my dedicated refrigerator set at 48F. Since moving, it has been in the refrigerator though (last two weeks). I took it out and used it to make up a batch of sour seed dough.
My thinking is this: When making up a SF style dough, you often want the dough to slow down and putter along quietly and slowly. Often though, it ferments too fast and your over night cold proof is ready to bake sooner than you would like. So I was thinking of ways to slow it down and let it take it’s time proofing, even when it is a warm proof.
I used a 40% and a 60% motherdough which had been aged a long time( I made the 40% motherdough on March 12) to accomplish this goal. The 40% motherdough has a small amount of whole wheat in it. The 60% did not. I basically am using these old motherdoughs not only as a flavoring, but also to add some acidity to the dough which slows the fermentation down. Because this dough is so aged, I also use vigorous fresh sourdough culture for the active yeast that is necessary.
Cold motherdough adds other enzyme changes (not a scientist here) which enhance the flavor and help to create a crisp, crunchy crust which shatters when you try to cut into it.If you cold ferment the dough, you get a terrific mild bread with a hearty wheaty flavor that is expected with motherdough breads.It’s the kind of smell that permeates the room and had the neighbors knocking at your door. It’s hard to describe, but when you add some sour to such a bread as well…. it just doesn’t get better than this, does it?
So for the 40% Seed Dough you would make up a 40% motherdough and just abuse it by leaving it to rot for weeks. Make it up, put it in your fridge or dedicated fridge (over 40 and under 50 is perfect) and forget about it for a while (You can also make up the dough and leave it out at room temperature for several hours to get it jump started).
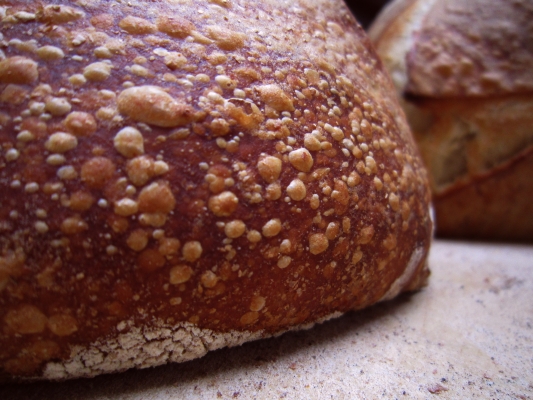
I know, hard to do when you are foaming at the bit and dreaming of that shattered crust, covered in lovely blisters and chewy, soft custardy crumb with a delicious sour tang (patience is a virtue).
40% motherdough (seed dough) using 100% hydration starter:
- 6 oz/170g vigorous starter @ 100% hydration
- 5 oz/141g water
- 1 oz/28g whole wheat flour (freshly ground if you can get it)
- 16 oz/453g good strong bread flour
total= 1 lb 12 oz/793g @ 40%
Seed dough using 166% hydration starter:
- 157g of 166% starter (5.5 oz)
- 141g water (5 oz )
- 28g whole wheat flour (1 oz)
- 510g of bread flour ( 18 oz )
total= 836 g ( 1 lb 13.5 oz) @ 40% hydration
Make this up and do what I said above, let it rot somewhere cool.
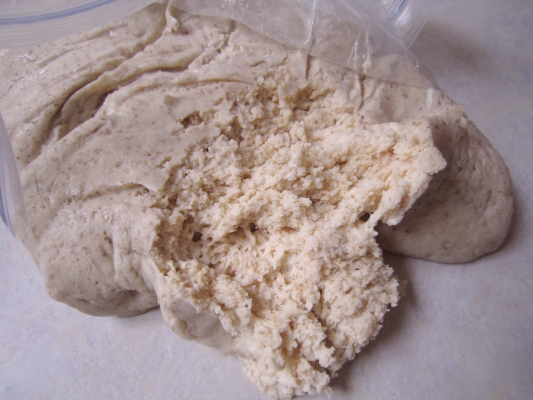
After a while, try a week or two, break apart a piece of the dough and if it looks crumbly or cottage cheesy, then it is ready, especially if it smells strongly sour. If you taste a piece of it, your tongue will curdle and you will make a “lemon” face. The outside of the seed dough will have a graying cast to it, don’t worry, it won’t hurt anything. I often scoop from the inside of the dough, but the outside works too.
Make the 40/100 final seed dough:
- 6 oz/170g aged 40% seed dough (also called motherdough)
- 16 oz/453g water
- 6 oz/170g vigorous 100% hydration regular starter fed within 8 hours (feed in the morning).
- 2 oz/56g whole wheat flour (freshly ground if possible)
- 16 oz/453g strong bread flour
Autolyse for two hours (2 pm to 4 pm)
Then add:
- .6 oz/17g salt stir this in well and then add:
- 7 oz/198g bread flour
This makes 3 lbs 5.6 oz/1519g of dough @ 64% hydration. I divided the dough into two pieces and made two loaves.
Note: If you wanted to experiment and add more aged seed dough, hold back or eliminate the autolyse. Once you have a significant amount of seed dough in your formula, you have enough protease action and you don’t need an autolyse.
1) Mix all together well until the dough comes together and all of the flour is incorporated.
Bulk ferment @ 80F for four hours
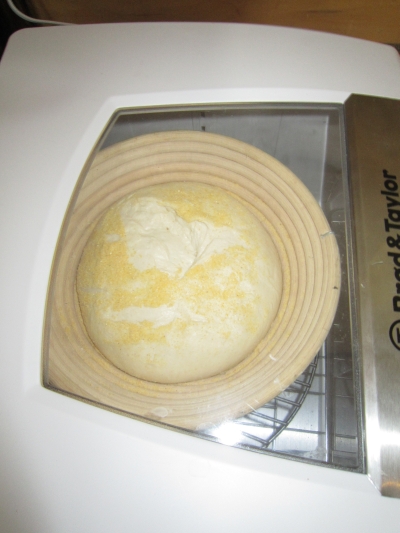
(if you haven’t run out and bought a Brod and Taylor proofer you had better do it soon. All of the bakers I know online,who have one, find it invaluable and are making up formulas using one). 2)Shape, cover with plastic bags and then from 8:00 pm to 6:00 am refrigerate overnight.
3) Next morning take out your dough staggering by 40 minutes.
4) Proof at 80F until done proofing. My dough was ready in 4.5 hours.
5) Bake at (heat oven to 450F) then turn the oven down to 425 and bake covered with
roasting pan lid for 20 minutes. Then take off the lid and bake for 15 – 20 minutes more (use preheated baking stone and slash/spray dough with water before baking).
Play around with your temps during proofing. Increase the temperature every hour until it reaches 90 degrees etc. You can increase your sour by increasing time and temp during the bulk ferment and proofing times. You can do a real short bulk ferment and a very long proof or anything in-between. You can adjust the amount of 100% starter, using a smaller amount the longer you want to push your ferment.
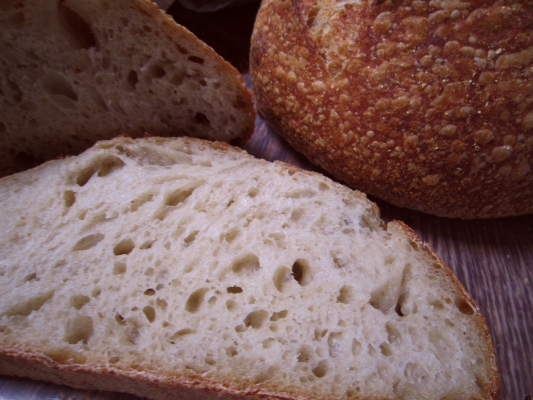
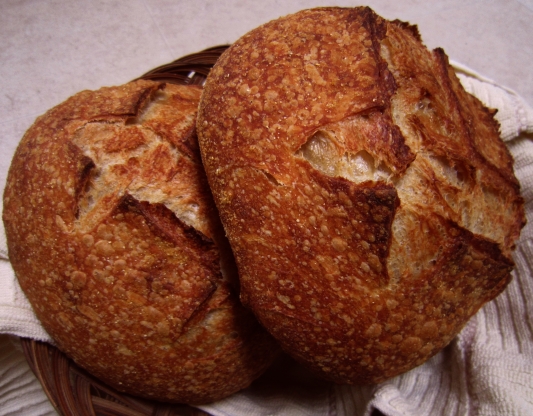
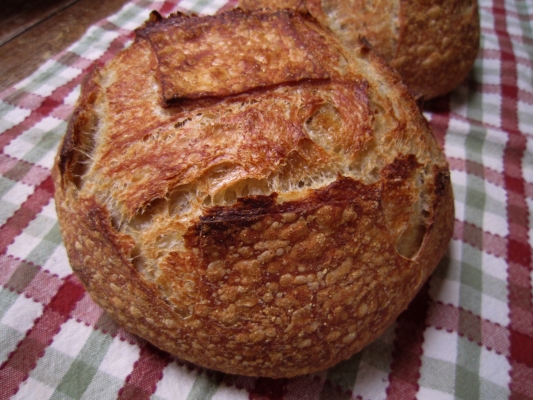
This formula, time and temp produced a moderately sour bread with a very good flavor and aroma. The crust was thin and shattered when it was sliced. The crumb was soft and chewy with a nice openness.
For a more pronounced sour, I would have bulk fermented an extra hour and pushed the temp a little higher for the final proof. I also might have adjusted the formula to contain less active starter so the dough was capable of fermenting longer. Play around with it and just make sure you write down what you did , so you can replicate it once you have it down perfect ( is that possible?).
What is going on here is to add some really acidic dough not only for flavor, but to slow the fermentation down. Once you slow it down , you have the capability of a longer warm bulk ferment and proof. Warm equals sour. Have fun with this, it is as close to regulating a consistant sour as I have gotten so far and I did not have to add a significant amount of whole grain flour to obtain a good sour. You could play with adding one ounce of rye flour and one ounce of whole wheat flour to the final dough instead of two ounces of whole wheat, heck you could add some cornflour too, or spelt or….. have fun!
This was written and posted especially for my baker friend Jeremy at
Stir the Pots, visit his site, it is awesome!


